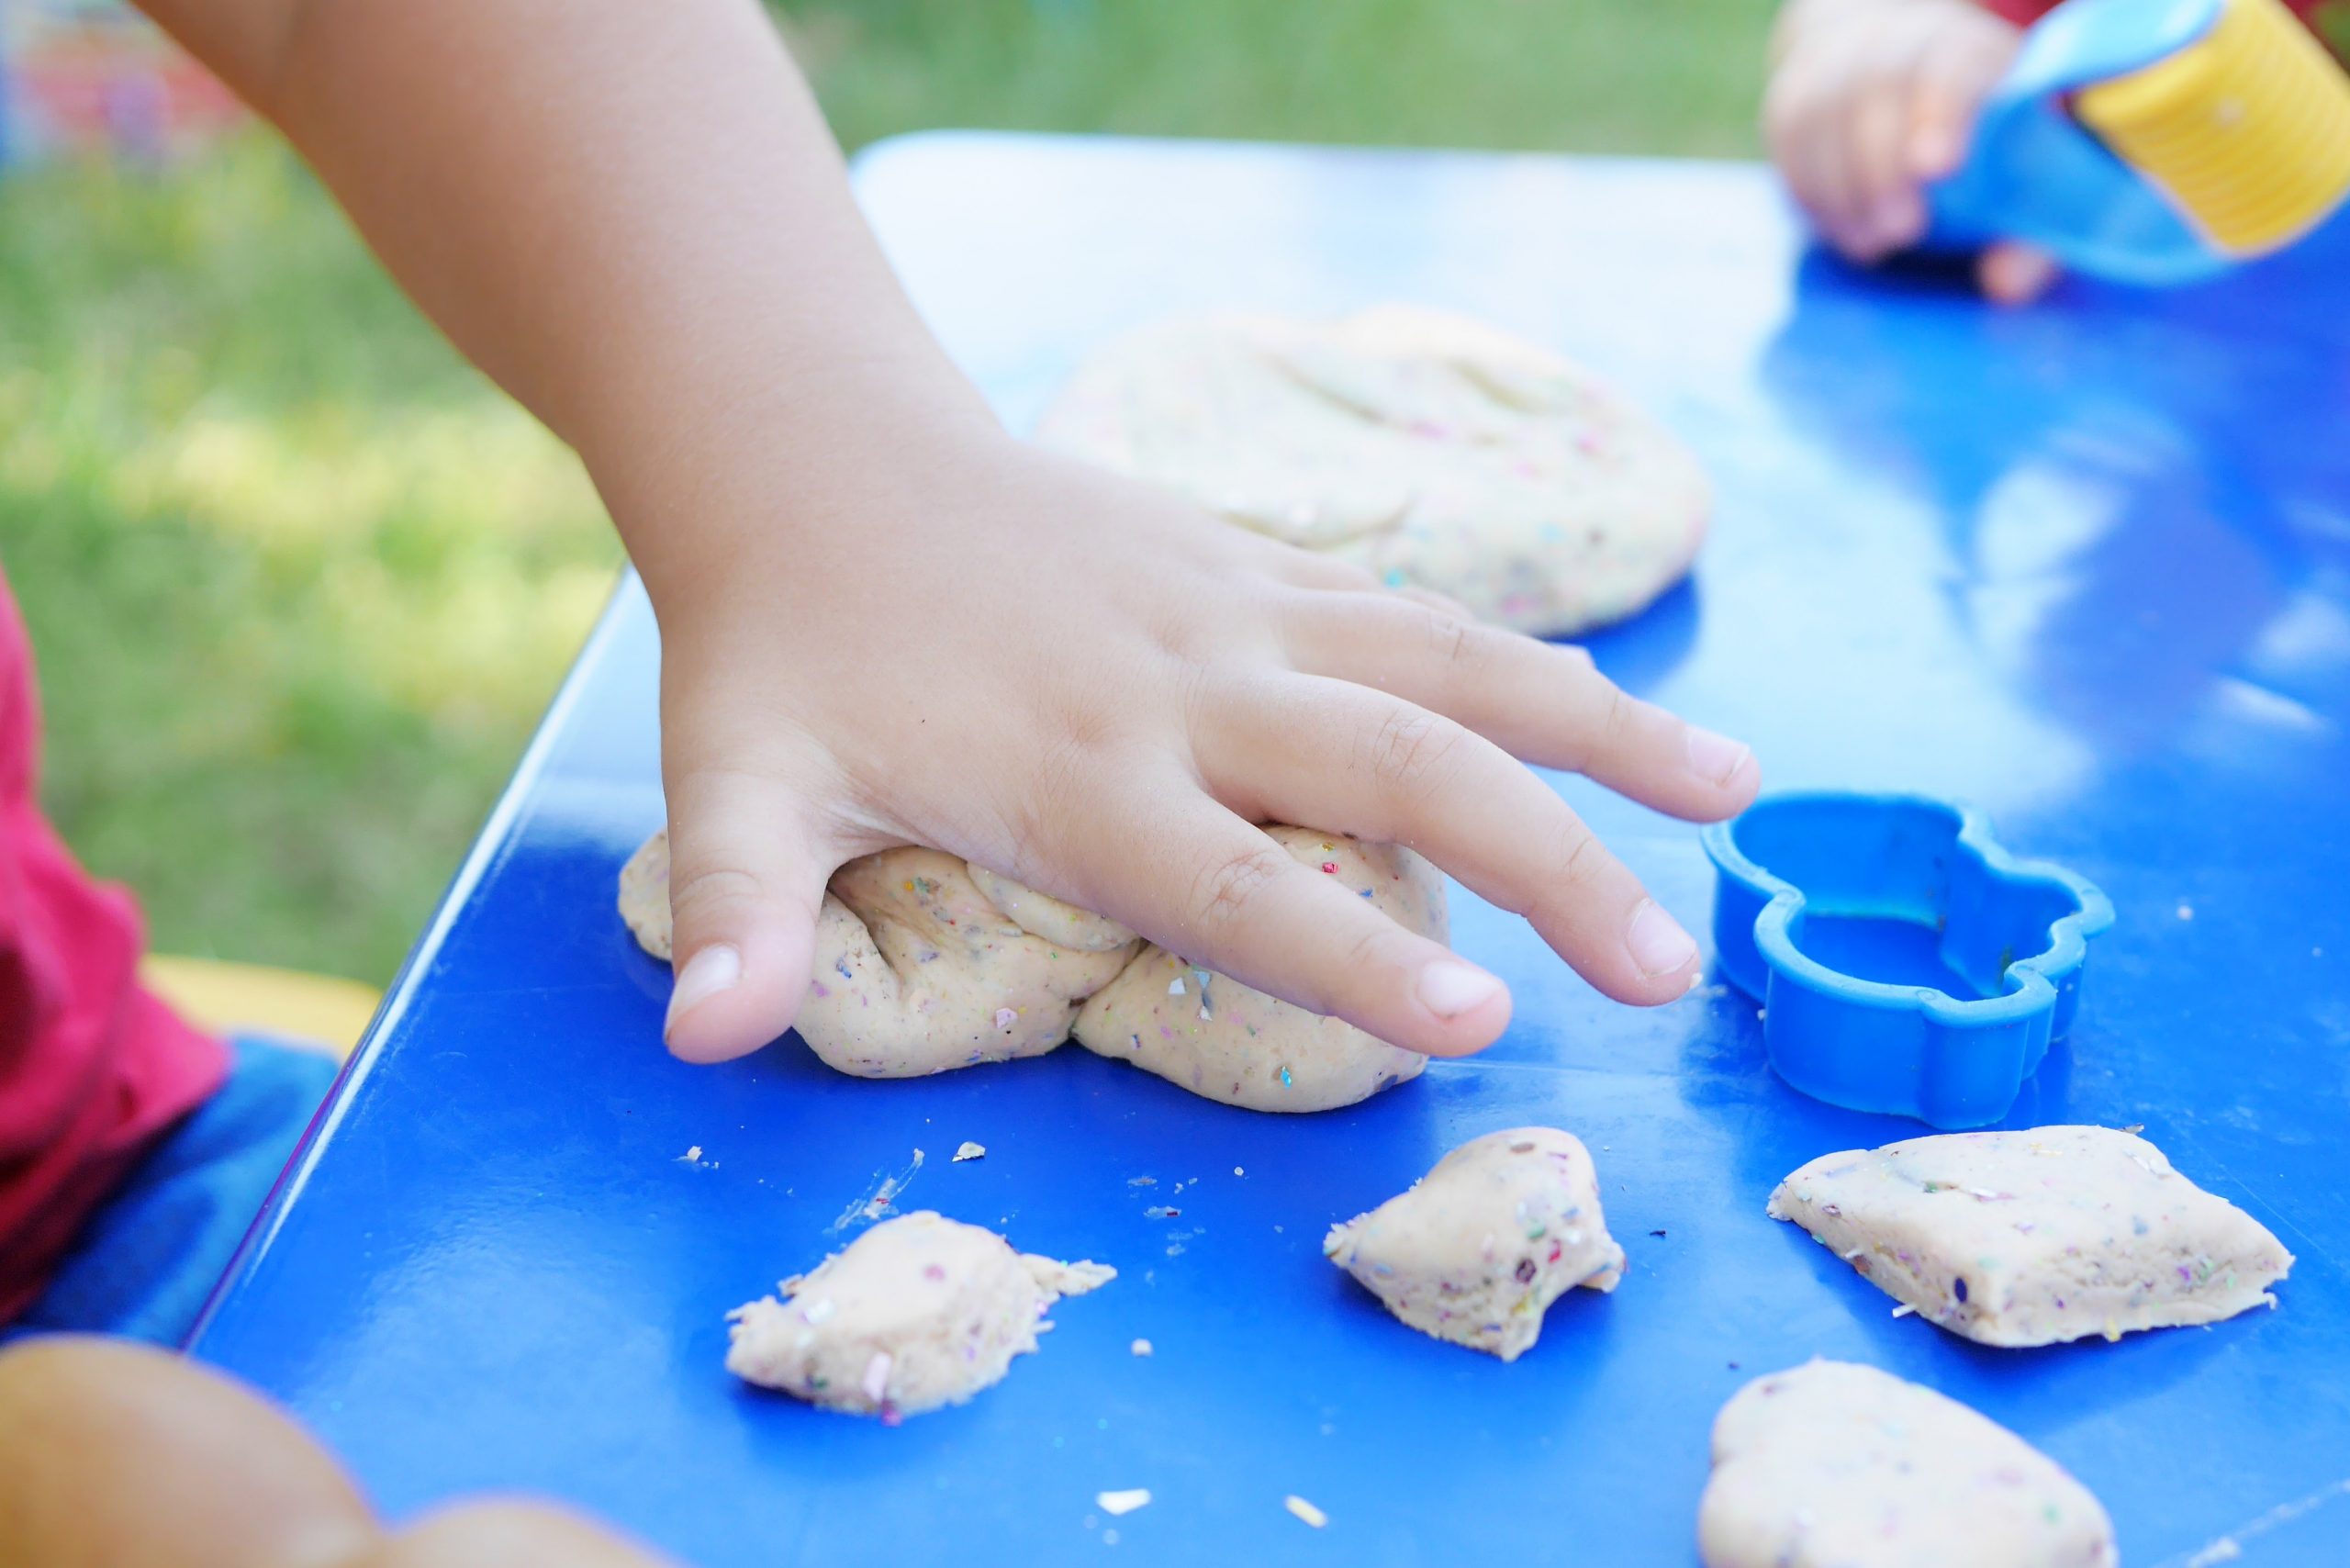
Experiments with salt dough

Age group

3-5 yrs

Number of children:

3-7 ppl

Areas it develops: perception, detection, hand coordination, understanding order, vocabulary, verbal skills

Children make their own salt dough to be able to experience how materials change and what textures they migh have. It is important to give them enough time to explore but to carefully observe them too because some problems mith come to light during this activity.

For instance if a child tries some games that interest them but does not reach the solution and does not even want to get there. Should we experience this we can help them by showing different options with the same object or material. Do not switch to a new activity/tool straight away! First, the child needs support to reach the end goal, the solution. If we come back to the same activity over and over again, but with less and less help, the experience will last.

In the descriptions you can also find actual tips/recommendations on how to help children who have difficulties with touching different textures or have problems with manipulating those materials/textures.


Ingredients

  • 1 unit of salt
  • 1 unit of water
  • bowls for each children
  • meat grinder

Mix the ingredients and play with the dough

Instructions:

Prepare the ingredients and place them on the table. Before we start kneading make sure to discuss the process with the children. Then, let the children knead the dough in their individual bowls. Once the dough is done take one chunk and mince it with a meat grinder, then form a ball again and of course don’t forget to encourage the children to observe! Ask all children to say what they saw/noticed.

Pro tip: If a child has difficulties with touching or manipulating different textures, graduality is key. For instance we might just ask for their help to start with: we could ask them to hand us a tool or to put it away. This will allow them to touch the dough just a tiny bit. Another request could be telling them to place dough into molds or to decorate the existing pieces. Perhaps we might even offer them to push their fingers into the dough. Do NOT highlight how well they did if they touch it!

Make a statue

Instructions:

Ask them to create something, anything they want and then showcase it to the others. At the end the kids will have to evaluate each others’ work: they’ll all have to say what they like the most about the art piece and it is very important that they also have to say why they like it. Always ask what they like and never mention what they don’t like! At the beginning the adult will say an example evaluation. Ask the kids what they think about the smell and texture of the salt dough. This can show them that playing with this might not be a pleasent experience for everyone. Do NOT highlight why someone might have difficulties. As a final step the adult should praise all children (=evaluate/reinforce positively), for example: „everybody did well today and look how much we now know about salt dough!”

Pro tip 2: This game is also great to practice the use of different tools. If a child does not like when their hands get dirty or sticky just create something from mashed up/pureed biscuits or from something similar. Mix the ingredients with a (wooden) spoon and taste the dough from time to time with our pinky fingers. Always discuss what else the dough needs and just like the previous time, do NOT highlight how good they are for touching it! Making cookies and playing with salt dough are not exactly the same, though both promote perception, the sensory areas, hand coordination and fine motor skills. They cannot be substituted by each other, they should complement each other. They can show the kids how many different processes, results and products there are. In this particular case one is done in order to eat it, the other one is a tool for playing or for art. Making cookies helps with tastes, smells, textures, it promotes perception, detection and it is more personal so the child can connect to it on an emotional level too as they love the taste or the smell of the cookie. Playing with salt dough helps with creativity, shapes and imagination.

Taste-Safe Sand

Instructions:

Ingredients
• 1 cup baking soda
• ½ cup sugar
• ½ corn starch
• 1 tbsp. cream of tartar
• 4 tbsp. water
• Food coloring
• Medium bowl
• Whisk

Instructions
1. Pour baking soda, sugar, corn starch and cream of tartar in a bowl and mix well.
2. In a separate bowl, add a few drops of food coloring to ¼ cup of water.
3. Add 2 tbsp. of water to the mixture and mix well with whisk.
4. Add another 2 tbsp. of water to the mixture and mix well with whisk. You should now have a fluffy texture.
5. Place in refrigerator to cool for a few minutes.
6. Remove from refrigerator and have fun! Repeat this recipe using different colors of food coloring to have a variety of colors!

Storage: Place in a zip lock bag or air tight container (no air inside). Store in refrigerator.

Cloud Dough

Instructions:

This is similar to playdough.

Ingredients:
• Cornstarch
• Hair Conditioner or baby lotion
• Bowl
• Food coloring

Instructions:
1. In a mixing bowl, add 2 cups of cornstarch and 1 cup of baby lotion or conditioner.
2. Use your hands and start mixing and squishing it together.
3. If it’s too wet: add more cornstarch. If it feels too dry: add more conditioner or lotion. When you’re happy with the feel of your cloud dough, roll it up into a big ball and play!
4. This cloud dough has such a fun consistency. It’s like a mixture between silly putty and traditional play dough. If you pull it apart fast, it will snap. And if you stretch it slow, it will get really stringy like silly putty. However, you can easily mold and build with it too. It’s great for alphabet practice or making cute animals!